Table of Contents
How to Reduce Image Size Without Losing Quality: The Definitive 2026 Guide
In the modern digital landscape, speed is the ultimate currency. As search engines like Google transition toward a “user-experience first” ranking model, The performance of your website has never been more critical, and learning how to reduce image size without losing quality is the most effective way to improve it. At the heart of web performance lies a single, persistent challenge: image optimization.
Images often account for more than 60% of a total webpage’s weight. Large, unoptimized images act as an anchor, dragging down your load times, frustrating mobile users, and ultimately damaging your SEO rankings. But the solution isn’t simply to delete your visuals. You need a strategy to reduce image size without sacrificing the crisp, professional quality your brand demands.
This guide will explore the technical “how-to,” the science of human perception, and the specific tools you need to master the art of image compression in 2026.
1. Why Image Optimization is Non-Negotiable in 2026
Before we dive into the “how,” we must understand the “why.” Image optimization serves three primary masters: SEO, User Experience (UX), and Infrastructure Costs.
The SEO Factor: Core Web Vitals
Google’s Core Web Vitals—specifically Largest Contentful Paint (LCP)—measure how long it takes for the largest element on the screen (usually a hero image) to become visible. If your hero image is a 4MB unoptimized JPEG, your LCP will be poor, and your rankings will suffer. Google’s algorithm effectively penalizes “heavy” sites because they provide a poor experience for users on slow connections.
The UX Factor: The 3-Second Rule
Human psychology suggests that a user’s patience expires after roughly three seconds of loading. On mobile devices, where bandwidth is often limited, high-resolution images can cause “layout shift” or simply fail to load, leading to a bounce rate increase of over 100%.
The Infrastructure Factor
Every kilobyte stored on your server and every megabyte transferred through a Content Delivery Network (CDN) costs money. By reducing image sizes across your entire site, you significantly lower your hosting overhead and bandwidth consumption.
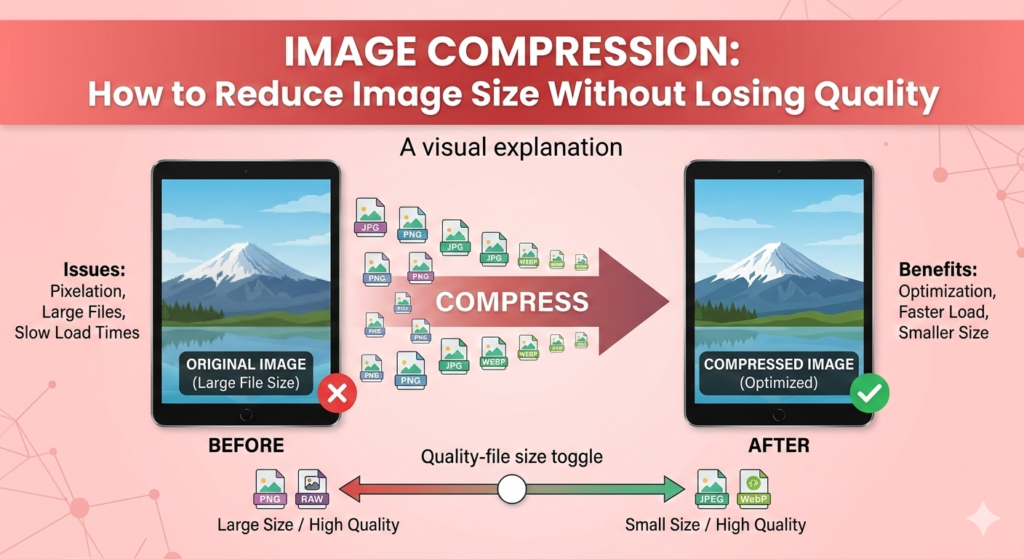
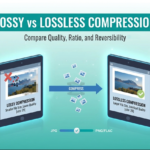
2. Understanding the Science of “Visually Lossless” Compression
To reduce size without losing quality, we must utilize a concept known as Visually Lossless Compression. Digital images contain a massive amount of redundant data. For example, a photo of a clear blue sky contains thousands of pixels that are almost identical in color. A standard camera file records every single one of those pixels individually. Smart compression algorithms identify these patterns and “summarize” them.
The human eye has physical limitations. We cannot distinguish between 16 million colors and 15.8 million colors in a fast-loading web graphic. Visually lossless compression removes the data your eyes can’t see, leaving the “perceived quality” identical to the original while shrinking the file size by up to 80%.
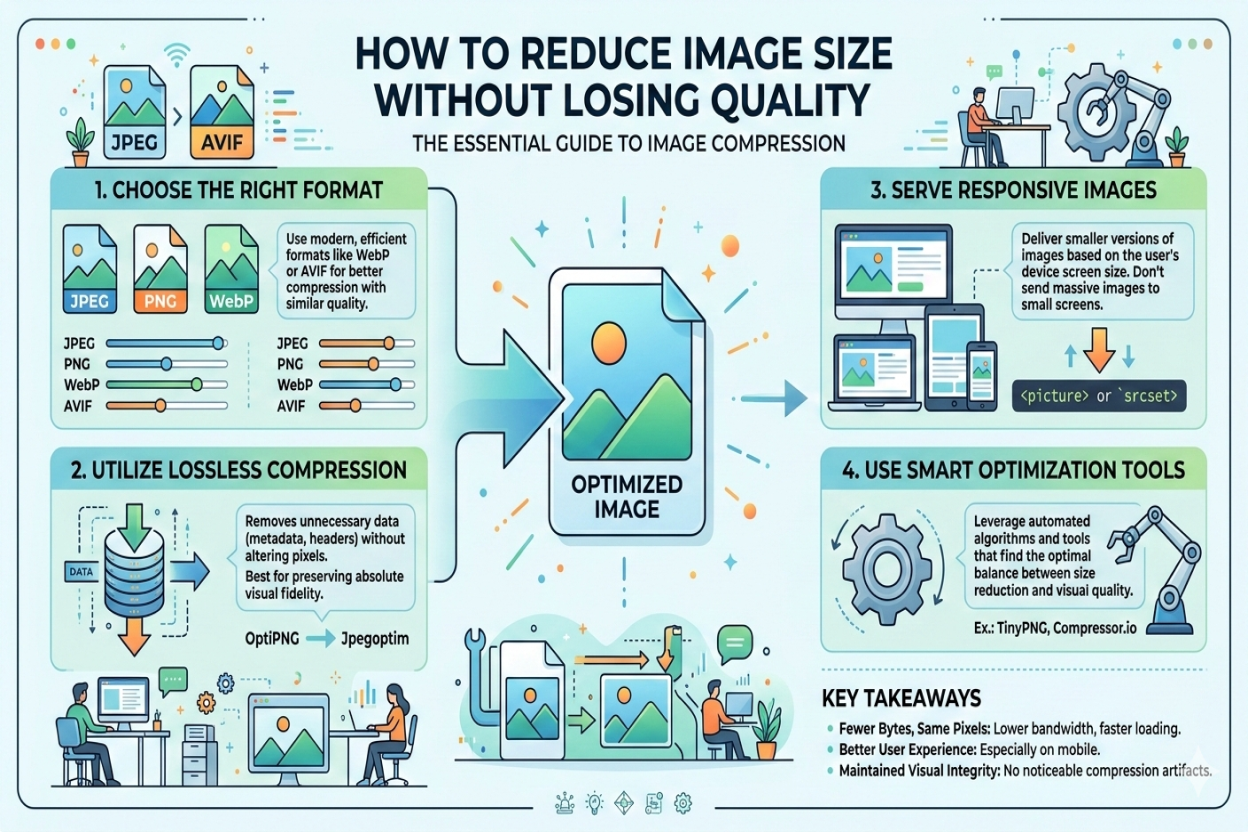
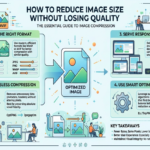
3. 5-Step Workflow to Reduce Image Size Without Losing Quality
Step 1: Choosing the Right File Format
Optimization starts before you even open a compressor. You must choose the right container for your data.
- WebP: The 2026 gold standard. It supports both lossy and lossless compression and is consistently 30% smaller than JPEG.
- AVIF: The newcomer. AVIF offers even better compression than WebP, though it is still gaining universal support across older browsers.
- PNG: Use this only for logos and graphics requiring transparency. For photographs, PNG is far too heavy.
- JPEG: Use for legacy support, but always consider converting to WebP using tools like our WebP to PNG Converter for modern web use.
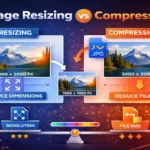
Step 2: Resizing Dimensions (The Most Common Mistake)
A 4000×3000 pixel image scaled down by HTML to fit a 800px wide blog post is a massive waste of resources. The browser still has to download the full 4000px file. The Fix: Always resize your images to the maximum width they will actually be displayed at. If your blog width is 1200px, resize the image to 1200px width at 72 DPI (Dots Per Inch).
When you follow these steps, you’ll see that it is actually quite simple to reduce image size without losing quality using modern formats like WebP.
Step 3: Removing Metadata (The “Hidden” Weight)
Every photo taken with a smartphone or DSLR contains EXIF metadata. This includes:
- GPS coordinates of the photo.
- The camera settings (ISO, Shutter speed).
- Thumbnail previews. This data is invisible on your website but adds 5KB to 50KB to every file. Professional compression tools strip this data automatically.
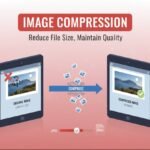
Step 4: Applying Smart Lossy Compression
Using a tool like the ImageSector Compressor, apply lossy compression. For most web content, a “Quality” setting of 75 to 82 is the sweet spot. It provides the highest file reduction before the human eye starts to notice “artifacts” (blurriness around edges).
Step 5: Implementing Lazy Loading
Finally, ensure your website uses the loading="lazy" attribute. This tells the browser: “Don’t download this image until the user scrolls near it.” This drastically improves your initial page load speed.
4. Advanced Techniques: SVG and CSS Effects
For certain types of visuals, the best way to reduce image size is to not use a “traditional” image at all.
The Power of SVG
For logos, icons, and simple illustrations, SVG (Scalable Vector Graphics) is king. Because SVGs are written in code (XML), they are infinitely scalable and usually weigh less than 5KB. An SVG will always look sharper than a PNG because it is rendered mathematically by the browser rather than relying on pixels.
CSS Gradients and Shapes
In 2026, many background textures and buttons can be created entirely with CSS. Instead of using a 200KB background image of a color gradient, use a single line of CSS code. This results in 0KB of image weight and 100% quality.
5. Mobile-First Optimization: Responsive Images
A user on a 4K desktop monitor needs a high-resolution image, but a user on an iPhone 13 does not. Serving the same file to both is a mistake.
Use the srcset attribute in your HTML. This allows you to provide a “menu” of image sizes to the browser. The browser then looks at the user’s screen size and picks the smallest image that will look good.
HTML
<img src="image-800.jpg"
     srcset="image-400.jpg 400w, image-800.jpg 800w, image-1200.jpg 1200w"
     sizes="(max-width: 600px) 400px, 800px"
     alt="Optimized Image">
6. Testing Your Success: Tools and Metrics
How do you know if your optimization worked? Use these industry-standard tools:
- Google PageSpeed Insights: Look for the “Efficiently encode images” and “Serve images in next-gen formats” sections.
- GTmetrix: Provides a waterfall chart showing exactly how long each image takes to download.
- ImageSector Optimizer: Use our built-in preview tool to compare the original and compressed versions side-by-side before you download.
7. Common Mistakes to Avoid
- Double Compression: Never compress an already compressed image. This leads to “generation loss,” where the image becomes muddy and pixelated. Always start with the original high-quality file.
- Using PNG for Photos: As mentioned before, a photograph saved as a PNG will be 5x to 10x larger than a WebP or JPEG.
- Ignoring Alt Text: Optimization isn’t just about file size; it’s about accessibility. Always add descriptive Alt Text to your optimized images to help SEO and screen readers.
When you follow these steps, you’ll see that it is actually quite simple to reduce image size without losing quality using modern formats like WebP.
Final Thoughts: The Competitive Edge
In an era where every millisecond of load time correlates to a percentage of conversion rate, image optimization is your secret weapon. By following the 2026 strategies outlined in this guide—choosing WebP, resizing correctly, and using visually lossless compression—you can build a website that is both beautiful and lightning-fast.
Don’t let heavy files hold your website back. Use the suite of tools at ImageSector to convert, compress, and perfect your visuals today.
You now have the tools and knowledge to reduce image size without losing quality, ensuring a faster, more professional website.
Key Takeaways for Quick Reference:
- Target Size: Aim for under 100KB for large images and under 30KB for small ones.
- Format: Use WebP whenever possible.
- Dimensions: Never upload an image wider than 2000px for web use.
- Compression: 75-80% quality is the professional standard.
Frequently Asked Questions (FAQ)
TRY OTHER TOOLS
IMAGE COMPRESSOR
IMAGE RESIZER


Leave a Reply